Log Home Maintenance
Cedar log homes age beautifully (check out our article on Cedar vs. Pine to learn the science behind it) but like any home, regular maintenance is key to keeping your property in great condition. Read on to learn how to keep your cedar log home looking great for generations to come.
Step1. Make a Plan
Not every side of your cabin is going to be on the same maintenance schedule as the others. Breaking up the sides you work on per year helps tremendously with your maintenance workload.
Additionally, not all sides are going to be on the same schedule because not all sides are always getting the same amount of weather. Some sides of the cabin may be under a porch and not need much attention, while others may get the sun all day and may be ready for a clear coat sooner than others. To determine which side to tackle next, look for dull spots, consider which areas get more exposure to weather, and build your schedule accordingly.
Step 2. Surface Preparation
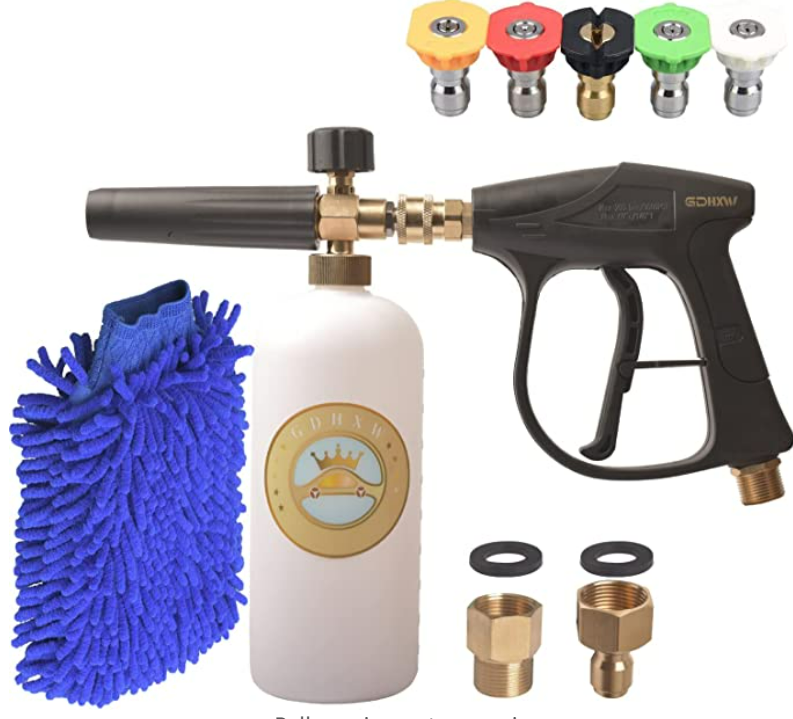
One of the most important maintenance steps to owning any home is keeping it clean, and a log cabin is no different. We recommend using a cleaning agent specifically designed for wood. First, determine the brand of stain used on your cabin to help you determine which brand of wash to use. The big three are Sashco, Sikkens, and Permachink, but Behr and other companies make products as well. Choosing a cleaning product that’s the same brand as your stain is the easiest way to prevent an unwanted reaction. To make it easier to reach every part of your cabin, you’ll want to use either an attachment for a pressure washer or an attachment for a standard hose. Either method is fine, but if you use a pressure washer make sure to spray from a distance to avoid leaving marks.
After you spray everything down according to the instructions on the cleaner, you’ll want to use a microfiber brush on an extension pole to wipe down and remove any pollen or dust that may still be sticking to the log rows. You don’t want to seal these types of materials in before putting on your clear coat. Once you’ve thoroughly wiped down the entire cabin and every log row (including your joints), and everything is dry, you’re ready for step three.
Step 3. Touch Up Stain or Paint
After letting your cabin dry for a day or two (bonus points for testing it with a moisture meter), it’s time to touch up any spots missing stain or paint. At this point you want to make sure you have a few clear days of weather in your schedule to allow for drying time. Take a careful look at the entire area, paying special attention to low log rows, corners, and trim. This is a good time to really check all of the logs and make sure they’re still in good condition.
Step 4. Apply a Clear Coat
The clear coat is the most important part of log home maintenance. While the stain or paint provides the color, and the logs provide the natural grain and beauty, the clear coat is the sacrificial layer that preserves both of those. The preparation and application of this step can be tedious, but the result is incredibly rewarding.
There are several ways to set up your workstation, but make sure you stay safe when getting to those hard to reach places.. Extension ladders are great, but sometimes challenging to move around. Always check that your ladder is well-balanced, and consider using a safety harness for extra security. If you have access to scaffolding or a lift, that can definitely speed up the process.
There are two main methods of applying a clear coat: by sprayer or by brush.
A sprayer applies an even coat, and thoroughly covers every inch of the wooden grain. Make sure to apply an even coat, and backbrush while it’s still wet, working in sections. Make sure to tape and/or plastic your windows and doors to avoid overspray. If it’s a breezy day, you may want to make sure any vehicles are out of the way.
Using a brush is a great method if you don’t want to invest in a sprayer or go to the trouble of avoiding overspray. Most clear coats are forgiving and don’t cause lap marks, but it’s still good practice to apply the clear coat on a few log rows at a time and then go back the other direction once you make it to one end.
Most clear coats go on a bit milky-colored and take about 20 minutes to clear and dry. Time your project to allow for the coat to fully clear before the evening dew sets in.
Step 5. Seal the Ends
Make sure you hit any log ends of purlins, corner logs, or decking posts with a log end seal product. Permachink makes a great log end seal that creates a plastic-like barrier around the end grains of the logs. This is important because the end grains will absorb the most moisture and as a result can deteriorate at a faster rate than other sections. Just one or two coats of end sealant will last for 5-10 years, depending on exposure.


